


Slinky seismometers kit


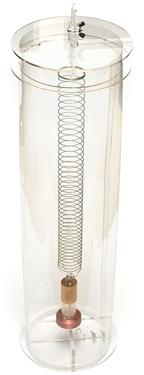
Clear Acrylic Tube
(134mm x 3mm x 500mm)
Rigid Plastic Perspex Pipe

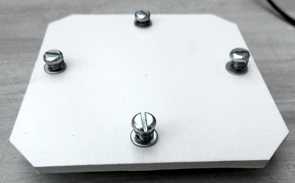


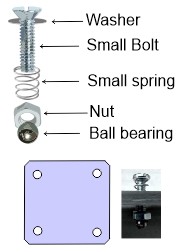
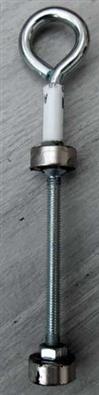
First cut a piece of plastic to the inside of the clear perspex coil mounting holder. Please see image fig1. Next, it's important to use a smaller drill bit than the diameter of the bolt you are using for the adjustable feet .Drill the four holes, then screw in small bolt, this will make an inner thread within the hole, You need to make it so you can turn the bolt with your fingers .
Slide a washer onto the bolt, then slide on the small tension spring thread this through the mounting plate holes, next screw on a nut . You want the nut to be positioned so the thread of the bolt is just inside, glue in the ball bearing into the nut , you could use magnetised ballbearings then apply superglue.
Tension spring will stop any movement within the levelling feet, small ball bearing will give you a really good adjustable levelling platform .
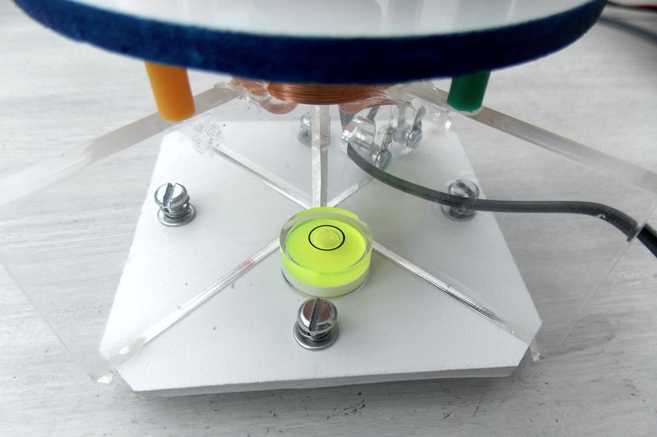
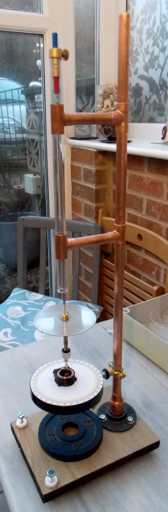
As you can see in the image fig 2, the clear perspex coil holder is glued onto the mounting plate.
The next stage.
I wanted to make the copper damper easier to adjust and stable see fig 2
this consists of two rings cut out of plastic .Supports inbetween the two plates are made from rigid plastic tubing,
the centre hole needs to be cut so the copper fitting can be adjusted up and down ensuring a tight fit.
I started out by purchasing a kit with the USB interface module
The first modification I made was to replace
the outer plastic jacket with a Perspex tube,
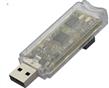
Seismometer Interface (USB)
Slinky Seismometer System kit
My latest hardware modification
+ Arduino control board
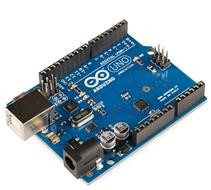

fig 1
fig 2
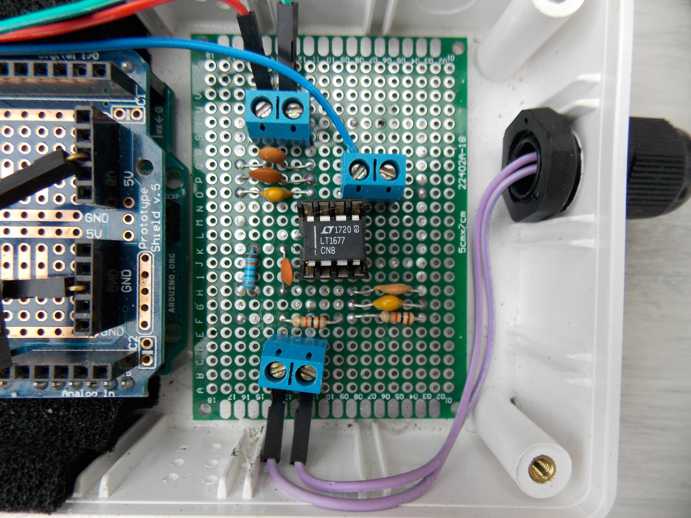
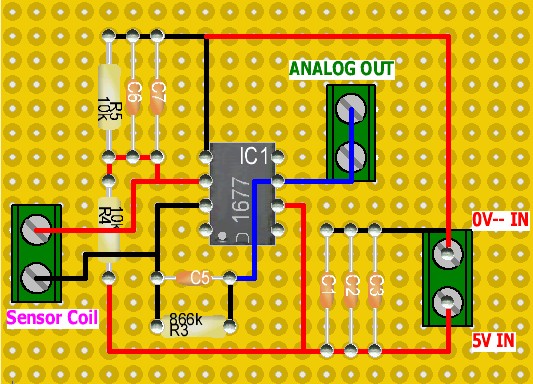
C1 ceramic 2,5mm, 1uf
C2 ceramic 2,5mm, 0.1
C3 ceramic 2,5mm, 0.01uf
R3 Resistor 0207, 866k
C5 ceramic 2,5mm, 330up
ST1 Screw terminal, double
ST2 Screw terminal, double
ST3 Screw terminal, double
R4 Resistor 0207, 10k
R5 Resistor 0207, 10k
C6 ceramic 2,5mm, 1uf
C7 ceramic 2,5mm, 0.01uf
IC1 DIL8, LT1677CN8
Welcome to Weather-Above
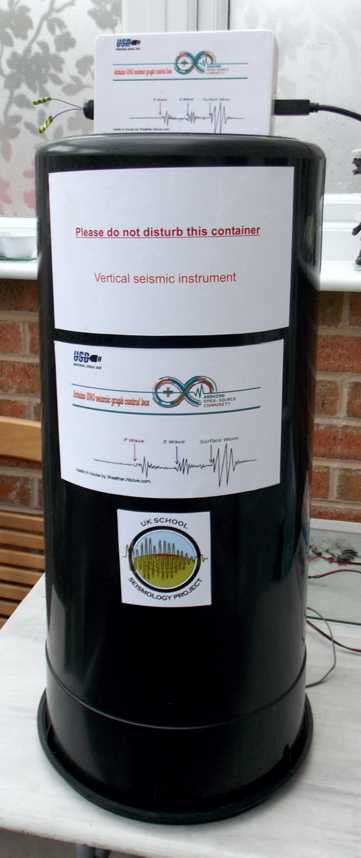
Black Seismic casing
salvaged from an
old treadle bin liner
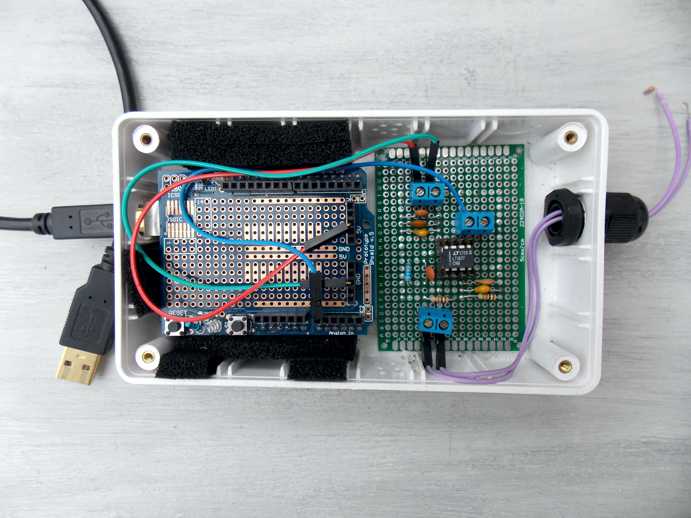
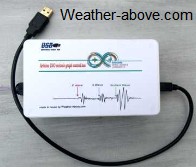
Instead of using the USB seismic interface. You could have a go at making your own using the Arduino uno and a small circuit which contains an amp with basic filters.
There are many examples on the Internet on how to go about putting this together. This is my interpretation, which I'm currently still experimenting with, so there may be still errors
Experimental still testing
Arduino UNO
Project Shield
amp circuit board
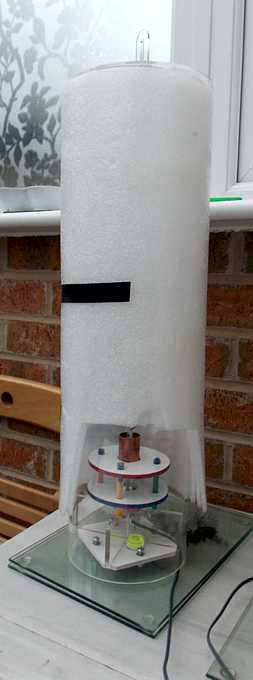

Slinky spring damper and coil magnet assembly
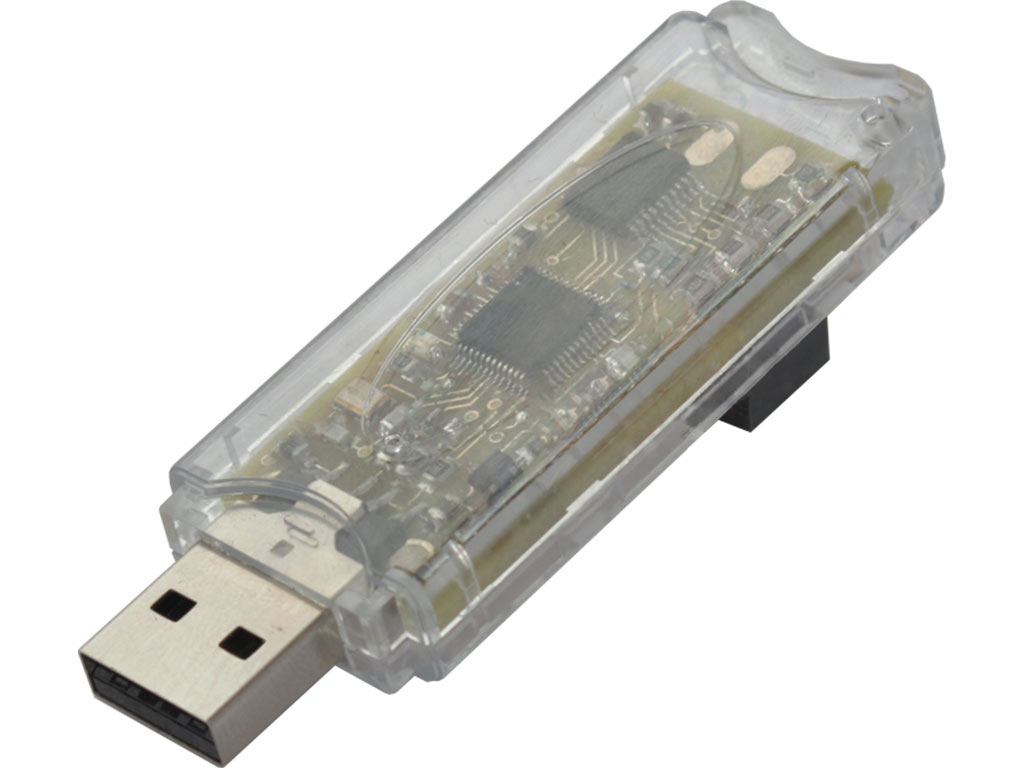
Seismometer Interface (USB)
Sensitivity: 0.16µV/count, 0.32µV/count and 0.64µV/count
Sample rate: 20sps, 50sps and 100sps
To connect the slinky seismometer to a computer, you need an interface. Currently I am using the USB interface which is very easy to use. You download the drivers and the seismic software plug in the USB interface. You should see seismic data being displayed in your software, live screen
Experimental

Experimental vertical Seismometer
PTV2 Seismometer instrument is experimental using a magnetic hinge System
PTV2 Seismometer